How to convert an Amazon Fire TV Stick into a digital signage player
If you are looking for a cheap digital signage player, and your needs are essential, consider a simple solution: using an Amazon Fire TV Stick.
Amazon Fire TV Sticks are cheap yet powerful Android streaming players. That's why they are a good choice for simple digital signage installations.
One disadvantage of the Amazon Fire TV Stick is that they do not come with superuser permissions, so you cannot set them up to use screen rotation and play vertical content. Additionally, they cannot be remotely rebooted or send HDMI-CEC commands to turn the screen on and off.
But if you are looking for a cheap digital signage player for a coffee store where employees can turn on and off the screens every day. In that case, an Amazon Fire TV Stick is an excellent option. The lite version that supports full HD content is more than enough for this application and only costs $30.
This article will explain how to convert an Amazon Fire TV Stick into a digital signage player and connect it to SignKontrol. You will need an Amazon account to activate your Fire TV Stick, so if you do not have one, this is the right moment to create it.
- About Wi-Fi
- Updating your Amazon Fire TV Stick
- Disable CEC on Amazon Fire TV Stick
- Install the Xibo for Android App
- Add your display to SignKontrol
- Conclusion
About Wi-Fi
I recommend using a Wi-Fi network with the same name in all your digital signage installations. That's the easiest way to deal with Wi-Fi connections from your digital signage players. Make sure you use the same SSID (Wi-Fi name) in all your locations, create it using a complex enough password, and keep it safe.
You can also set this Wi-Fi up on your smartphone as a personal hotspot. I have used it for years, and it's handy to have the Wi-Fi network of your displays in your pocket.
It is best to use the same Internet connection as the Amazon Fire TV Stick when adding a display to SignKontrol. This way, you won't have to enter the device's MAC address, as you will see later.
Update your Amazon Fire TV Stick
The first thing you need to do is to connect your Amazon Fire TV Stick to the Internet. Choose the Wi-Fi network you are going to use and enter the password. Once the Amazon Fire TV Stick connects to the Internet, the software update process starts. It could take a while, so this is a perfect moment to grab a cup of coffee.
Register the Fire TV Stick into your Amazon account when the upgrade is done. The time zone is one crucial setting you must pay particular attention to when configuring a digital signage player. Be sure your Amazon Fire TV Stick has the correct time zone to ensure clarity when scheduling content.
Disable HDMI-CEC on your Amazon Fire TV Stick
By default, Amazon Fire TV Sticks come with HDMI-CEC enabled, causing the devices to enter sleep mode when the TV is turned off. That is the expected behavior at home but not in a digital signage player. You want your player to keep awake always so you can make changes to your publications when the screens are even off. That's why we recommend disabling HDMI-CEC on your Amazon Fire TV Stick to prevent the device from going to sleep after the TV is turned off.
To disable HDMI-CEC on your Amazon Fire TV Stick:
- Go to Settings on home screen.
- Select Display & Sounds.
- Scroll down to HDMI CEC Device Control and turn it off.
Install the Xibo for Android App
You must install the Xibo for Android App on your Amazon Fire TV Stick to use SignKontrol. But it is not available on the Amazon App Store, so you first have to install the Downloader App. Go to the store, search for Downloader and install it.
You can use the Downloader to download the Xibo Android Player Apk (application package file) from SignKontrol. But the Downloader will need special permissions to install the application after downloading it. To give those permissions to Downloader App, go to Settings, My Stick, look for Install from unknown sources and enable it for Downloader App.
Now you can open Downloader App and type the following address in the URL box:
https://signkontrol.com/xibo.apk
The APK file will download quickly; it's less than 3 MB. Choose to install it, and the Xibo application will be ready in seconds. Then select Open, and Xibo will ask you for permissions for location and storage; select Allow in both cases. Press the Use Code button at the top of the screen. It will take seconds to show you a code of six characters.
Add your display to SignKontrol
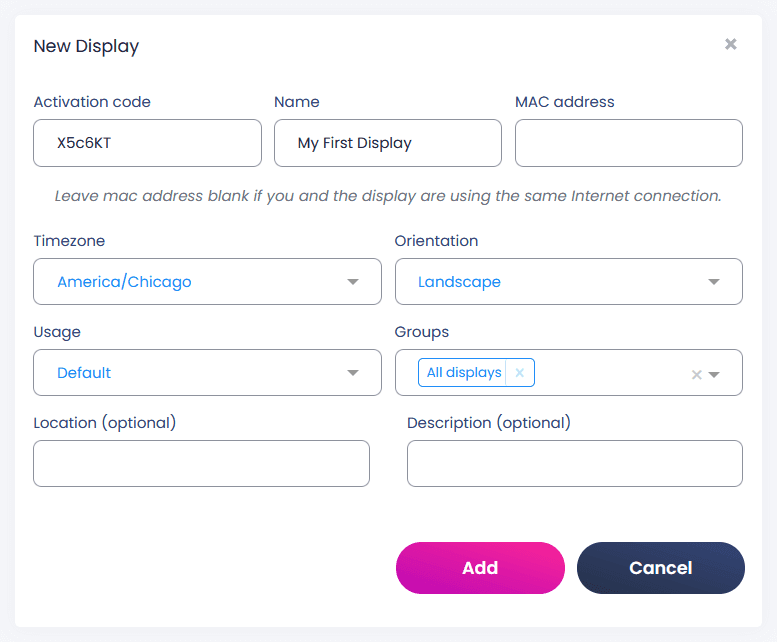
Go to the SignKontrol application, select Displays, and press Add display. A form like the one shown below will appear. Enter the code Xibo gave you, and give it a name. Leave the mac address blank if you and the Fire TV Stick use the same Internet connection. Then select the time zone, orientation, and usage, and press Add.
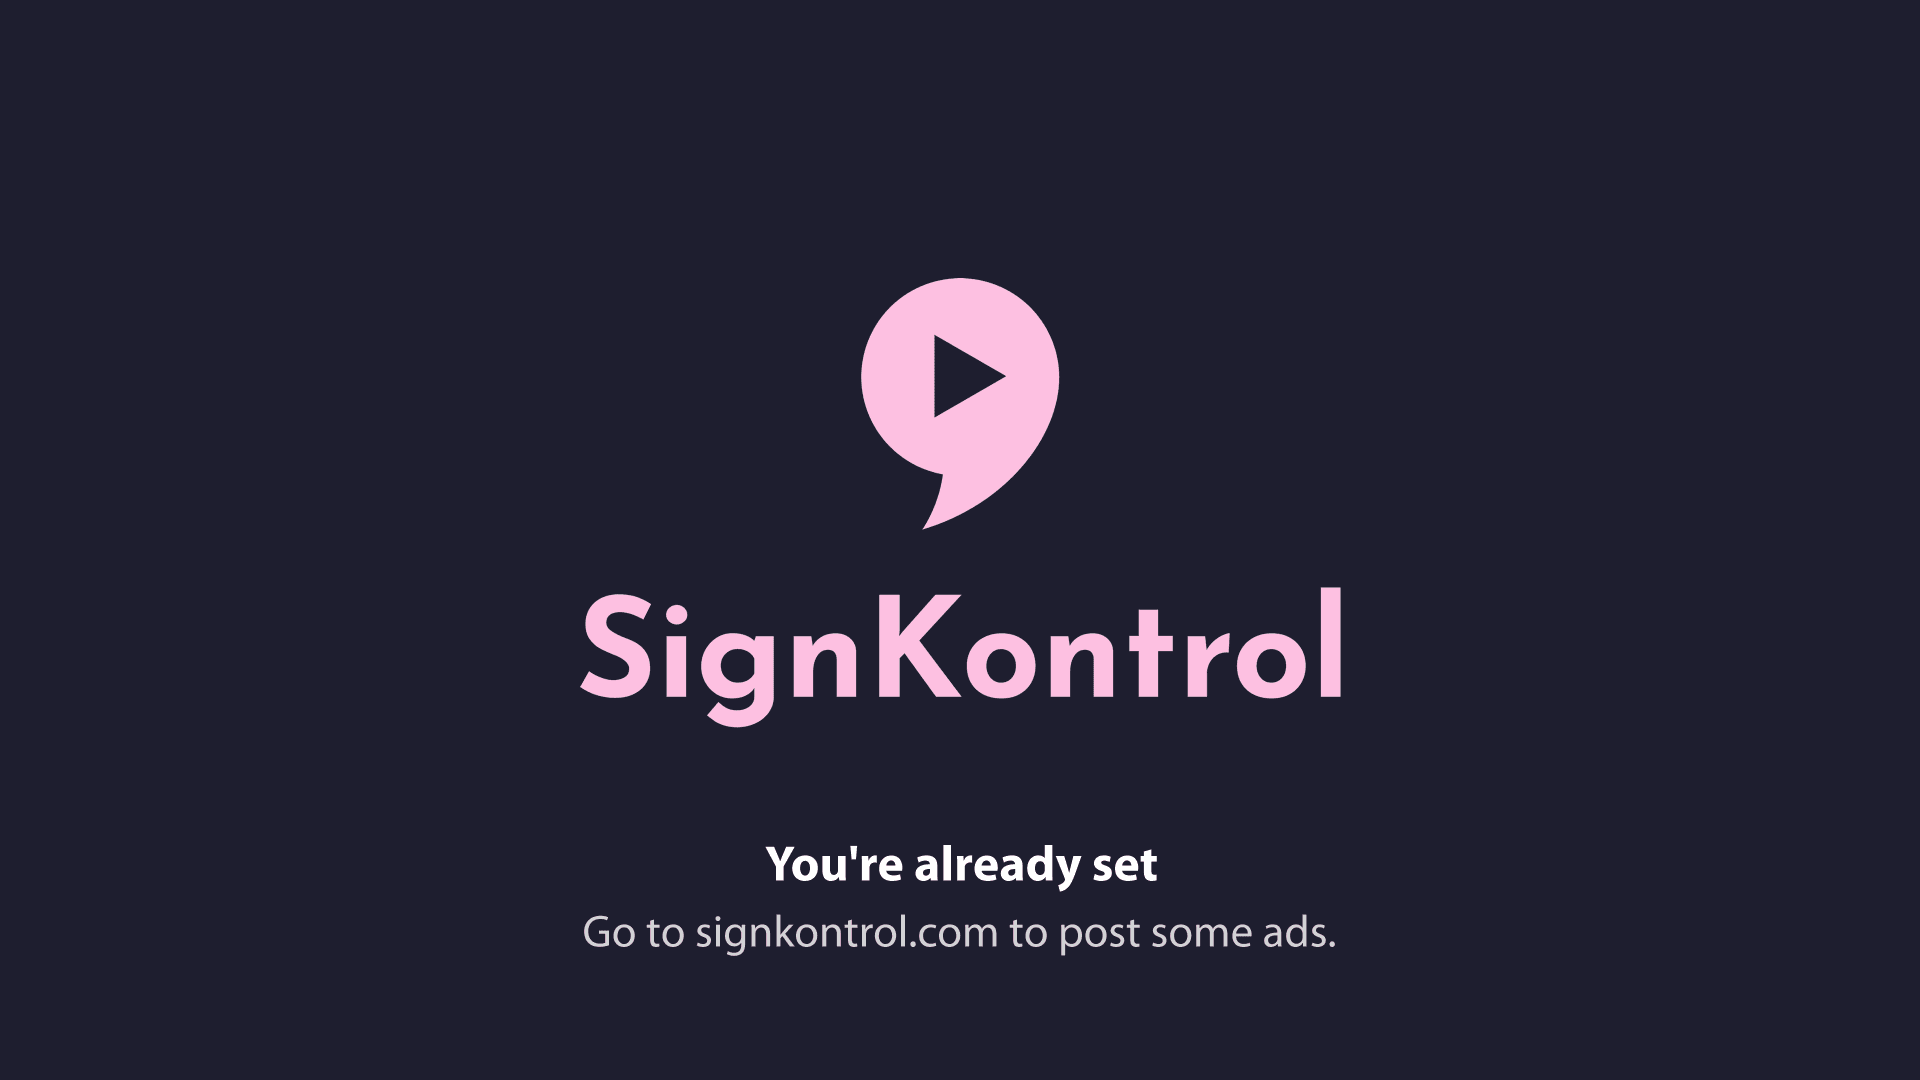
You will see the display you just added with the status Creating. After 10 to 20 seconds, the Creating message will disappear, and the Xibo screen showing the six characters code will change too. Your digital signage player will display the following when it is connected to SignKontrol and ready to use.
Conclusion
SignKontrol is an easy-to-use cloud-based digital signage software that simplifies the process of scheduling and posting content and is cheap. The Starter Pack only costs $8 per display per month, and you can save 25% on annual subscriptions; that's only $72 per display per year. Amazon Fire TV Sticks are robust, reliable, and only cost $30, which makes them an excellent option if you are looking for a cheap digital signage player.